
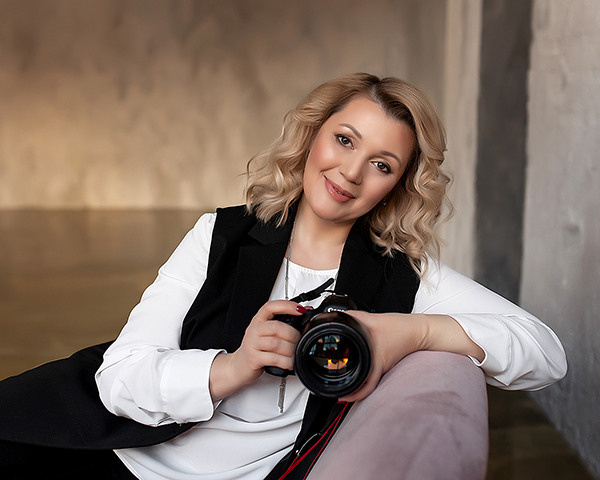
Hi, I’m Elena Mikhailova — among the top 3 best children’s photographers in the world according to 35 AWARDS (International Photography Awards). I have more than 249 000 followers.
I have been working in professional photography for more than 10 years and teaching 6 years. I have taught more than 6,000 students worldwide.
Lessons of the Course of child and family photography
I’m explaining in this video about why you need to learn child and family creative photography with an example lesson on '3D effect in photography'
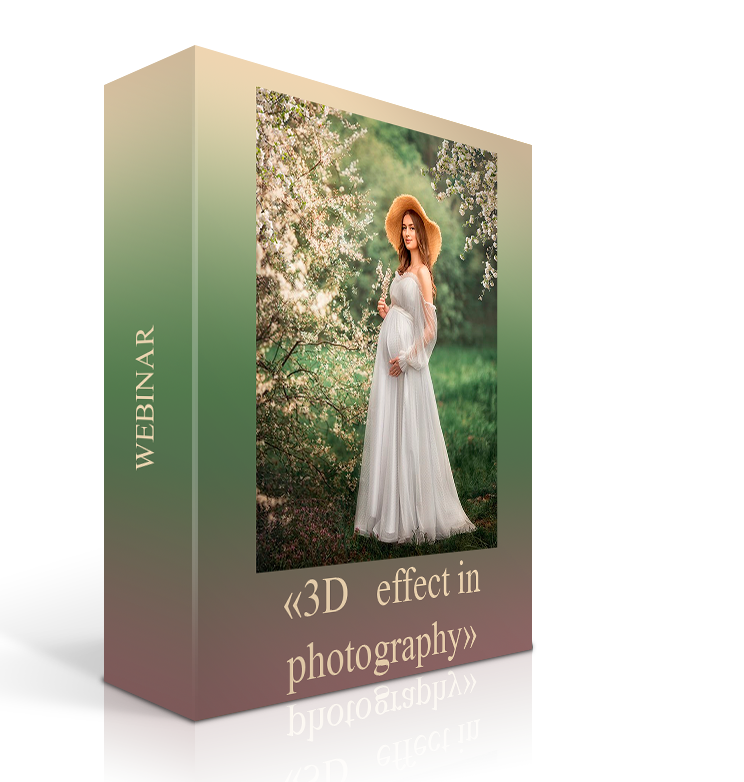
Webinar “3D effect in photography”
Who knows the definition of the 3D effect in photography?
Today our
goal is to learn how to create and manipulate volume in photos!
Moreover, in the second part, we are going to go into PhotoShop and I will teach you effective techniques in artistic processing, to create a unique magic in photos.
The plan of lesson
click here
How to find the right locations, perspectives, so that photos immediately look deep and three-dimensional.
1. By using Perspective
* Linear
* Reduction
* Aerial
* Tone
2. How to use light and its directionality correctly
* Lens features
* Back and side light
3. How to make a photo light and airy.
* Versatility
* Framing (frame within a frame)
4. Achieving depth of volume in photos. Artistic Processing
* Gradient filter
* Adjustment brush.
5. The secrets of processing in Photoshop.
* Adding haze
* Merging of layers
IT WILL BE 34.5 USD!!!
INSTEAD 69 USD!
SALE! -50% OFF!
The offer lasts for 3 days, then we increase the price by 50%
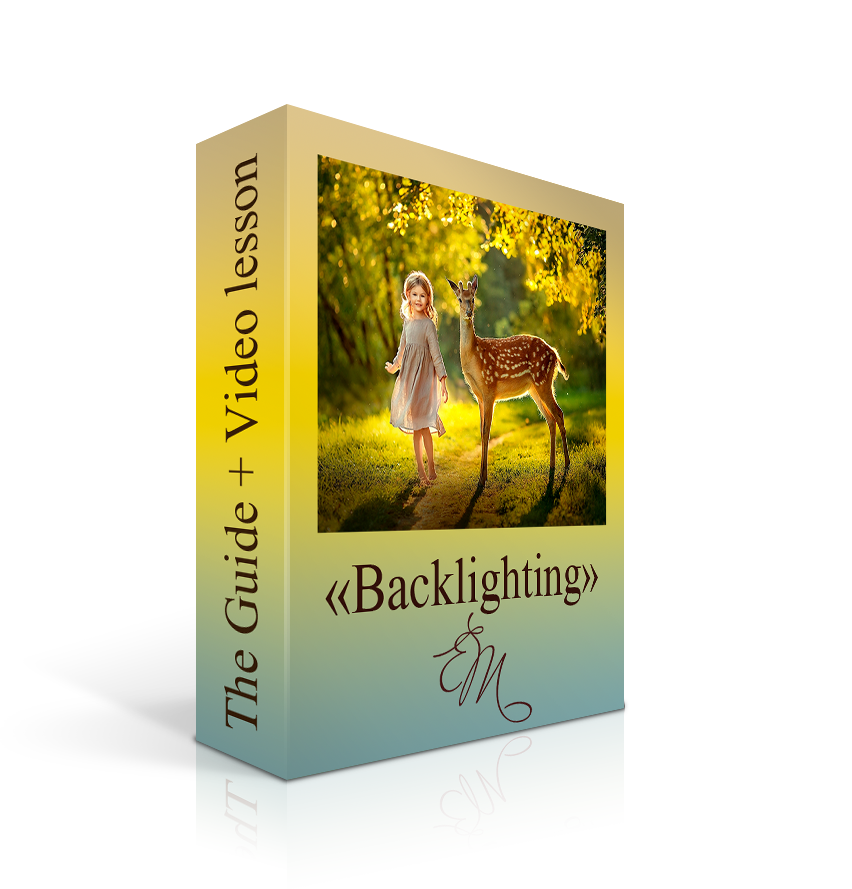
The Backlighting Video Lesson + Guide
Learn one of the
most beautiful techniques in photography: backlighting!
Have you noticed how eye-catching are photos with backlighting and how often do you want to look at them again? Here is the secret of backlighting!
The plan of lesson
click here
Shooting in backlight. The light that creates magic.
1. The work and peculiarities of shooting in backlight.
* Techniques for solving light problems.
* Choosing a location
* The right model positioning, communication and interaction.
* What the angle of the background should be
* Choice of reflective surface
* Appropriate time to shoot
* How to shoot a vertical portrait
* Techniques for taking pictures on a very sunny day
* Background when shooting in backlight.
2. Special effects in shooting and additional props.
* Working with a photographic light torch
* Shooting with an LED panel
3. Shooting from a low point with photographic effects.

Video lesson “Boy with a rabbit
In this lesson we will edit 1 photo. It is an autumn photo, we will add falling leaves to enhance the effect, we will learn how to work with skin tone, levels, plugins, filters, PNG files. You will also learn how to work with curves, layers and masks. This lesson can be used as an algorithm for any of your photos. The lesson is for beginners and photographers that want to make their work better and more artistic.
The lesson is available for viewing at any time and in unlimited quantities, it is suitable for all levels of users of Photoshop and Lightroom.
The video tutorial is accompanied by a source file so that you can reinforce what you have learned.
Duration 1 hour. 20 min.
Lesson plan
click here
1. image editing in Camera Raw — basic colour correction, working with gradients, brushes, cropping.
2. Using Photoshop for artistic processing:
* Plastics.
* Skin retouching.
* Contrast enhancement (various methods: levels, curves).
* Drawing out the light and shadow patterns.
* Work with skin tone.
* Tinting.
* Adding effects: detailing + learning to work with plugins.
* Working with png file — overlaying an object.
* Preparing for Web and print placement
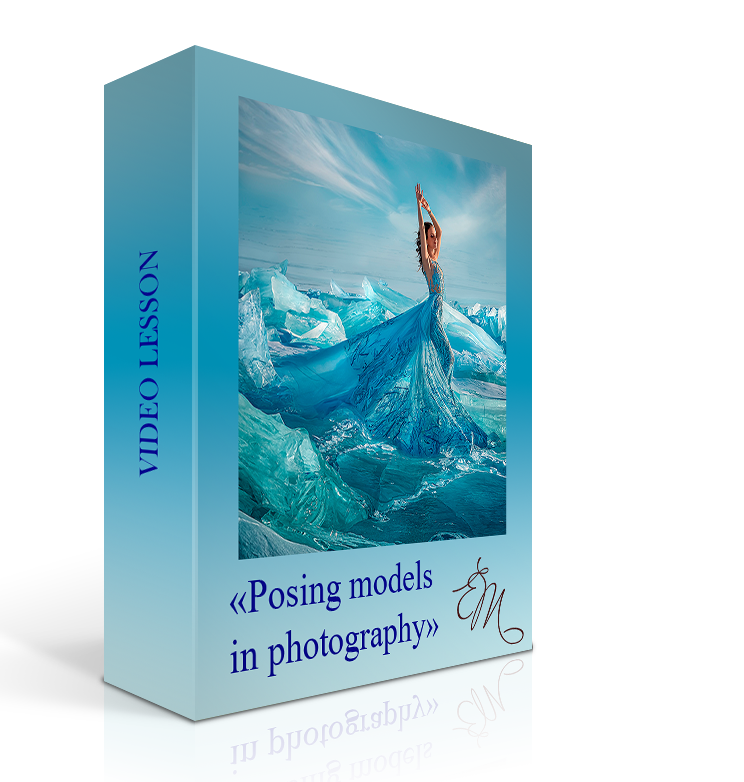
Video lesson “Posing models in photography”
I always analyze my students' work after completing my courses and now I realize that one of the most common mistakes is incorrect posing. Therefore, I recorded a separate lesson in which I tell you how to pose and expose models of different ages, especially if they don’t really know how to put the father, the head of the family. When we incorrectly expose our arms and legs, we can ruin any successful shot. I believe that this lesson refers to the mandatory basic knowledge so that you can grow quickly in photography and earn more.
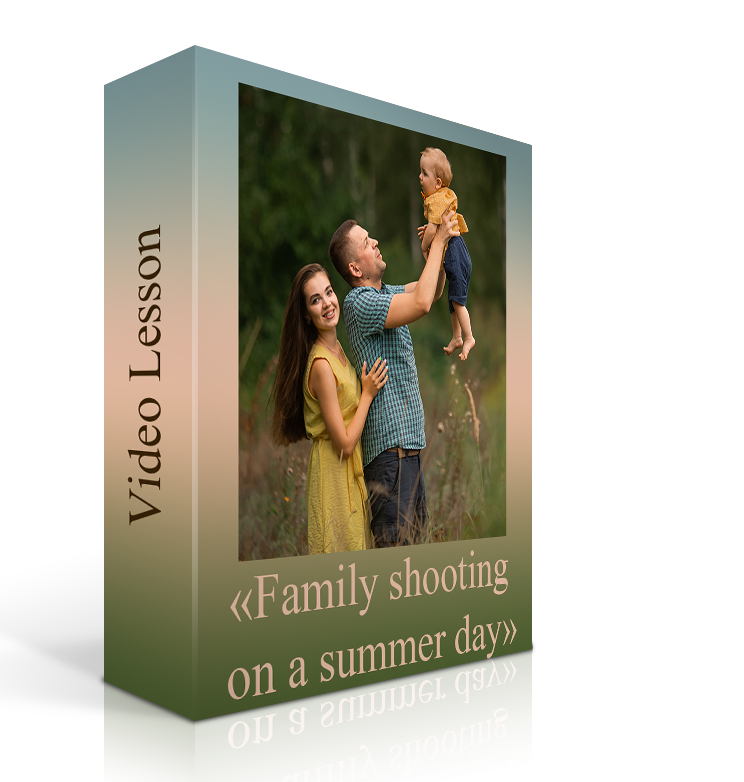
Video lesson of “Children and Family Shooting on a Summer Day in the Outdoors”
In this video I will show how I choose different locations in practice, how I work with the model, and how to do a complete photo shoot for a client.
The plan of lesson
click here
A story about a family and a mother’s love for her baby.
1. How to work with non-professional models.
2. Assistants' help.
3. Choosing a location of the shooting
* How to hold a baby correctly
* How to hold the hands correctly
* Makeup, manicure, for the shoot for the heroine image
4. Shooting from different points
5. Backlight with a photographic flashlight
6. Changing the image of the model, angles and locations.
7. The principle of versatility
* Shooting in motion
* Changing locations
* Frame background
8. Shooting before sunset
9. Variety of poses, showing emotions, family interaction
10. Shooting by the water
* Portrait of mom and dad
* Whole family portrait
* Working on the emotions of the models
* Shooting a full-length family
* Shooting the baby with the addition of props
11. Sunset Side Light Shooting
* Pictures of Mom
* Portraits of Mom
* Portraits of mom with baby
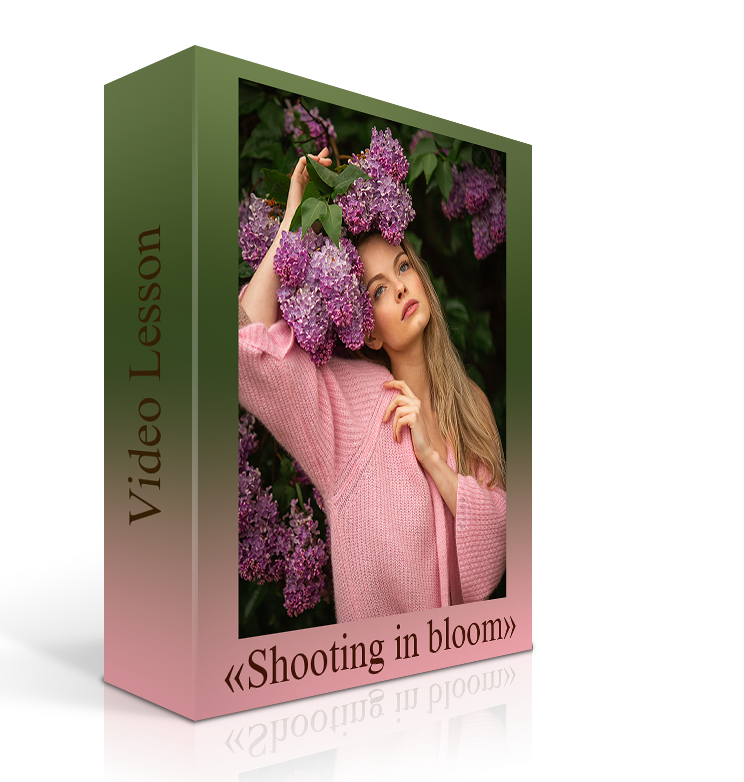
Video lesson “Shooting in bloom”
I really like to shoot my models in flowers. In this tutorial I show in practice how I place the heroes respect to the flowers in order to get a beautiful blur in the background.
The plan of lesson
click here
Flowering is a beautiful time, we prepare in advance
1. Think of the images. Tenderness and romanticism.
2. Interaction with the model.
3. Shooting with white flowering.
4. Shooting in the evening.
* Side light
* The principle of versatility in the frame
5. Shooting in sunny weather
* Backlight
6. Shooting the model in flowering
* Choice of angle of shooting
* Contact and emotions with the model, for more successful shots
* Positioning the model
* The principle of versatility
* Blossom arches
* Light on the model’s face
* Positioning of the model’s hands
* Different angles, choice of location, and poses for taking pictures of the model.
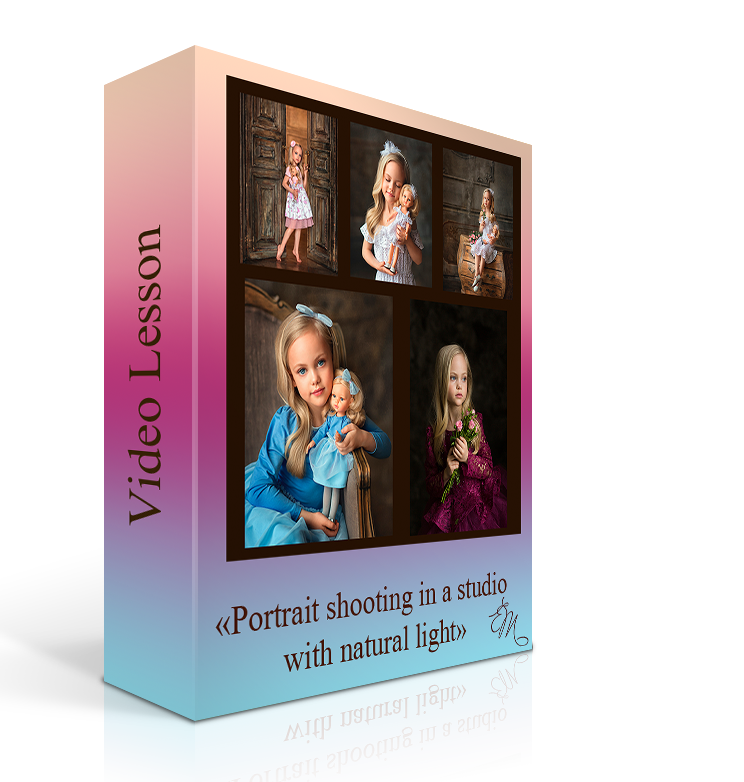
Video lesson “Portrait shooting in a studio with natural light”
In this lesson I will show how I take a portrait in the studio, how I work with the model, how to find the right light, and do some experiments.
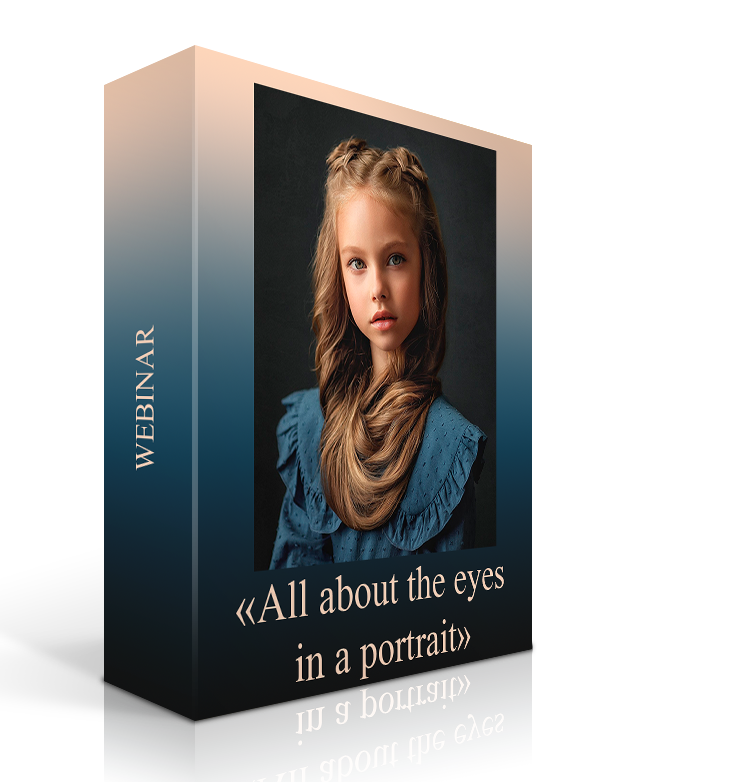
Webinar “All about the eyes in a portrait”
Everyone knows that the most famous and best-paid photographers are portrait photographers! I have devoted many years to the study of this subject.
In just 1 hour you can learn my secrets of working with models and discover 3 easy ways on how to beautifully process the eyes.
The plan of lesson
click here
Lesson in the studio with natural light by the window
1. Work with the young model. Preparing for the shoot.
* Frontal portraits, Working with frontal light.
* Shooting with side light.
* Shooting in front of a window
* Shooting from the side of a window
* Shooting in backlight
2. How to use a light reflector correctly
3. Shooting with a light torch.
The plan of lesson
click here
How to place eyes in a portrait, how to highlight eyes in a photograph
1. Catch the beautiful highlights
2. Eyes must be well lit
3. Focus on the eyes
4. Make the gaze meaningful:
* Make an emotional connection.
* Relax and reassure the model
* Ask to think of something pleasant
Artistic Processing in Photoshop.
1. How to remove bruises and wrinkles
* Create a duplicate layer
* Patch
* Select
* Brightening
* Merging of layers
2. How to enlarge the eyes shape.
* Duplicate a layer
* Plastique (liquify)
* Red eye tool
* Deform
* Merging of layers
3. How to remove eye defects
* Stamp
* Spot healing brush
4. How to whiten the whites of the eye
* Duplicate Layer
* Sponge tool
* Transparent layer
* Merging of layers
5. How to add highlights to the eyes
* Stamp
* Duplicate a layer
* Merging of layers
6. How to make the eyes more volume.
* Duplicate a layer (of shadow)
* Duplicate a layer (of light)
* Soft brush
* Merging of layers
Secret-shine eyes and corneal tinting.
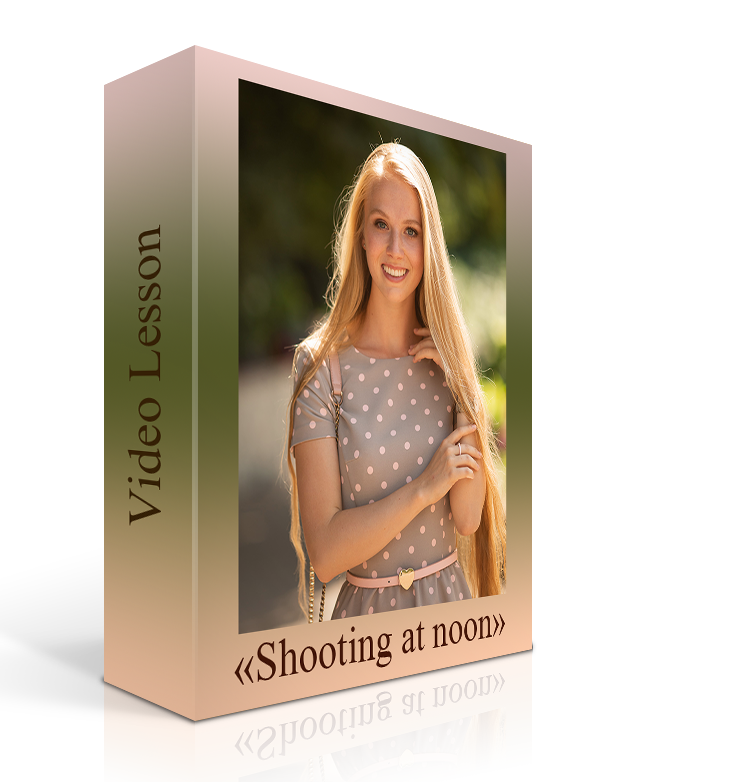
Video lesson “Shooting at noon”
In this tutorial I practically show where I put the model when shooting on a sunny midday. How I look for reflective objects to illuminate the model.
The plan of lesson
click here
Choosing a suitable location. It is important to find soft shade and even light.
1. First pictures of shooting in the shade
* Backlit photos
* Working with the model
2. Shooting with the sun (secrets and techniques)
* Backlight
* Sunlight on the face
* Full-length photos
* Dynamic Shots
3. Shooting the model with her back to the sun.
* Sunlight backlight
* Choosing the background
* Working with a reflector.
4. Shooting at noon at 12:00
* Working with the model (poses, movements)
* Working with the light
* Working with highlights

Webinar “Ideal shot with animals”+Video Lesson “Shooting with animals”
“My
favorite tricks for taking and artistically processing photos of animals”
Why do I
like to shoot with animals?
Interacting
with animals is always a special experience and a great joy for our heroes!
At the moment of communication with them children, and even adults, forget about the photographer, they relax, and express natural and sincere emotions. Such pictures will not leave anyone indifferent.
In this webinar you will learn the special features of animal photo processing: how to show the structure of animal hair, how to combine 2 frames into 1 successful one.
In the video tutorial I give a practical part of taking photos with animals.
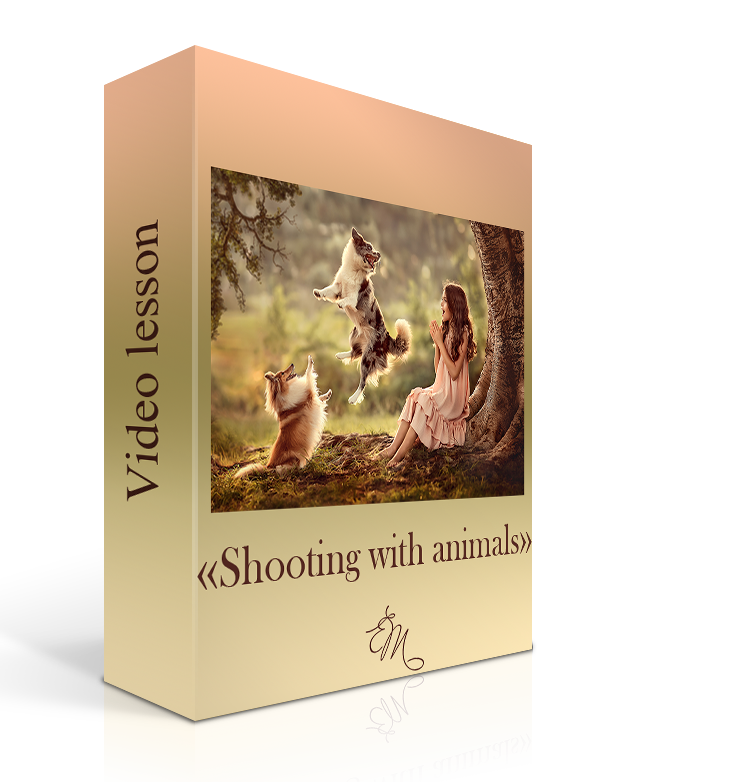
The plan of lesson
click here
1. How to prepare models and animals.
* Preparing an animal for the shoot
* Tips for the pet owner
* How to Prepare a Child for the Shooting
2. Peculiarities of shooting with animals
* Based on the nature of the animal
* Choosing the image for each animal by color, location, idea
* Shooting seasons
* Separate shooting of heroes
* Shooting with black or white animals
* Depth of Field of the characters
* Positioning in the same plane
* Shutter speed when there is active movement.
3. Working in Photoshop. Artistic photo processing.
Separate shot of the hero and the animal
* Move
* Opacity
* Opposition
* Matting, overlapping
* Cropping
* Shading
* Retouching (stamping)
* Plastique
* Detailing (detail extraction)
* Shaping
* Sharpness
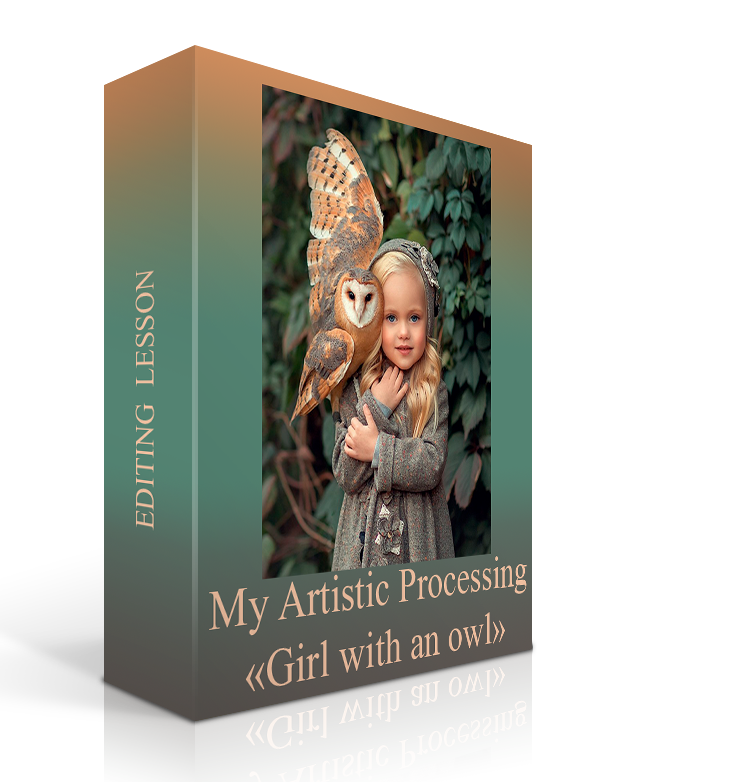
Lesson “Girl with an Owl”
The lesson demonstrates a detailed step-by-step processing of photos, working with textures, plug-ins and filters. You will also learn how to work with curves, layers and masks.
This lesson can be used as an algorithm for any of your photos. It is suitable for beginners and photographers who want to make their work better and more artistic.
Duration: 1,5 hour.
The plan of lesson
click here
1. Image processing in Camera Raw — basic color correction.
Synchronizing the settings.
2. Working in Photoshop for artistic processing:
· “Merging” the donor frame with the main frame.
· Cropping.
· Plastique.
· Working with the background.
· Eliminating “noise”.
· Retouching skin + learning to capture “action”.
· Contrast enhancement (different techniques: levels, curves).
· Working with skin tone.
· Adding effects: detailing + learning to work with plugins.
· Sharpening.
· Painting a light and shade drawing + learning to capture “action”.
· Working with hairs — adjusting the shade, adding shine.
· Toning.
· Adding “artistic” noise.
· Preparing for posting on the web and print.

The Guide “10 Reasons Your Photos Are Out Of Focus”
You need this guide if:
— You’re tired of getting blurry shots from your shoots.
- You don’t know the reason of this problem.
- You don’t know what’s needed to be done for avoiding this problem.
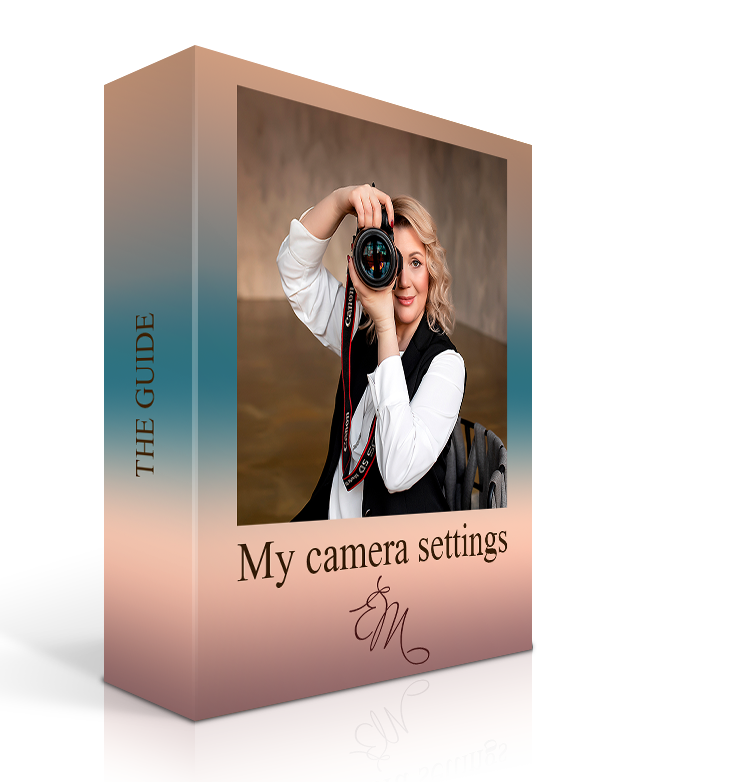
The Guide “HOW I SET UP MY CAMERA”
People often ask me what settings I set in my camera when I take pictures…
So, I decided to prepare a very useful cheat sheet for You!
In this guide, I talk in detail, gradually, about all of my settings for
taking pictures!

O F F E R!
Course of child and family photography

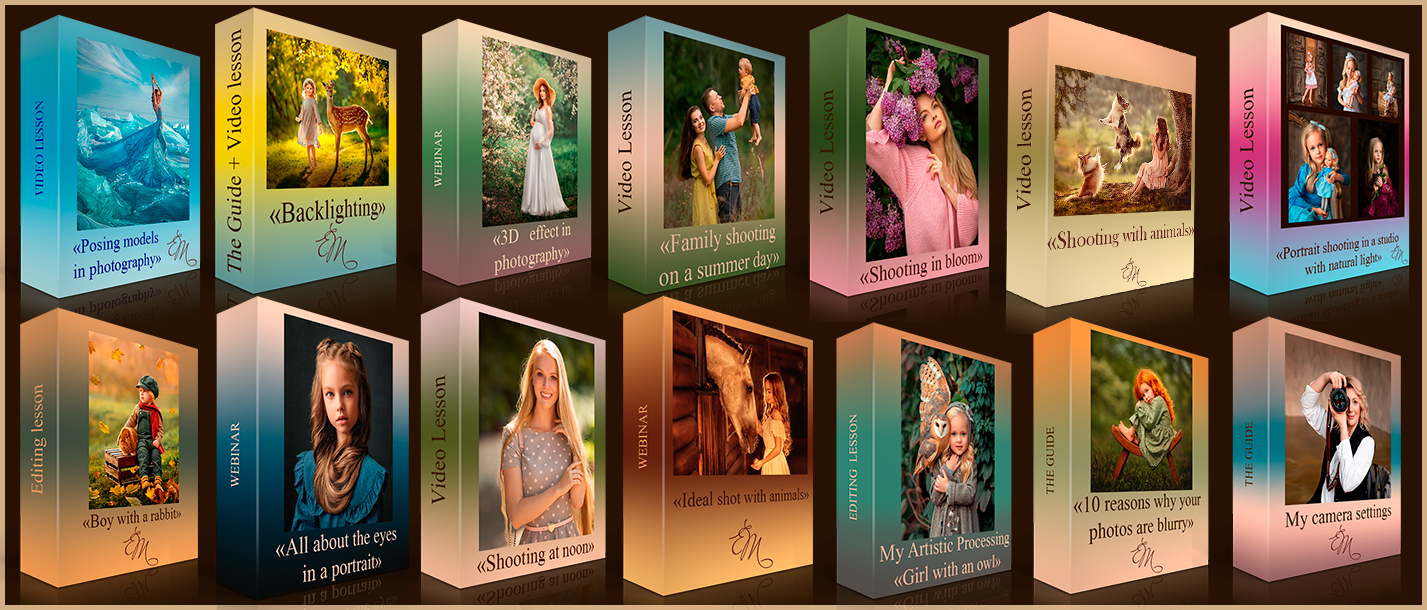
IT WILL BE 136.20USD!!!
INSTEAD 503 USD! SALE! -75% OFF!
The offer lasts for 2 days, then we increase the price by 75%
You will be able pay the full price of the course off with just one or two photo shoots of yours
Hurry up and get way ahead of your competitors!
FAQ

In which language is the course?
English
Is the course live or recorded?
Recorded video. Once downloaded, you can watch it as many times as you like.
Is the course only for a limited time?
No, you will always have access to the course.
Is the course suitable for beginners?
Yes, I am explaining in a simple way.
Why is the course useful for professionals?
I share my unique photographic technique. You are going to grow by increasing the price of your services and become more famous.
Is it possible to ask questions after the course?
Yes, contact us on WhatsApp +393270027182
Results of my students after training with me

O F F E R!
Course of child and family photography
